We made the following changes:
The base is 24" square.
We used batik cotton for the front, windows and pole sleeves, and a linen blend for the rest of the tent.
The height of our tent sides is 20".
We used 1/2" white PEX tubing because we couldn't buy 3/8" at the store we went to.
We used acetone to remove the writing and chose to not wrap them in duct tape, though it would have made them pretty, I don't like it when it gets sticky later.
We cut the pole sleeves in half because our pipe was thinner (accidentally the wrong way) and they barely fit our poles! I like them thinner though, it looks more like a real tent.
We used a 20" invisible zipper for the front, it goes all of the way from top to bottom.
We used a french curve and rotary cutter to make our pattern vs. freehand.
After everything was done mom tied craft thread between the pole supports to help the tent stay a little more open.
I had seen a doll tent at a garage sale a few weeks ago. I am glad I didn't spend my money on it. This one is much nicer, and I love that I made it with my mom!
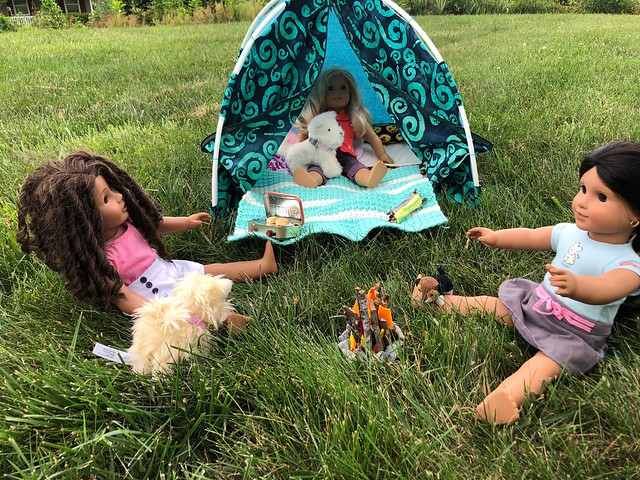
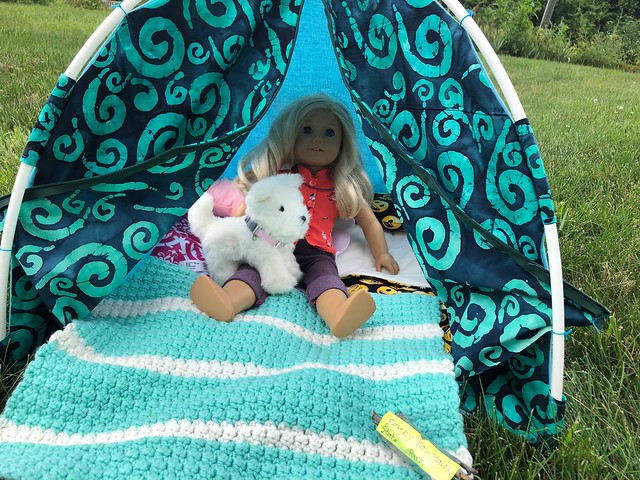
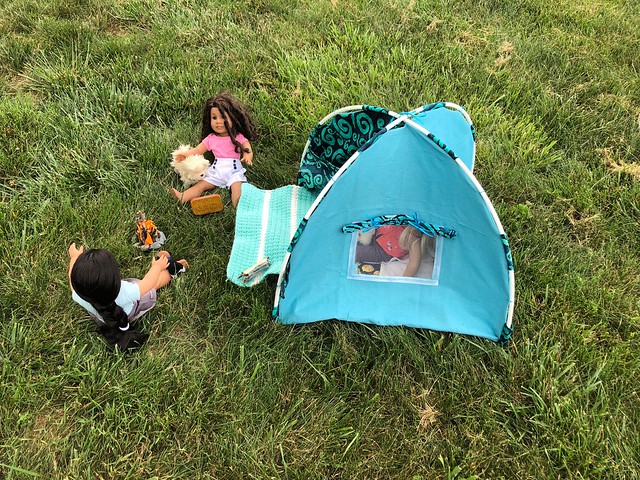
Here's Tia, on the left, Peyton in the tent and Josephina on the Right enjoying their new tent.

Mom and I followed tutorials from www.dolldiaries.com to make this camp fire, we added rocks around the fire and a few pony beads to simulate coals and embers. We layered the red felt on the inside, and as we added wood and worked towards the outside, added orange, and finally yellow like a real fire. I had some extra wood, so I labeled it and bundled it up to look like the campground safe wood bundles. You can see it pictured in the first photo with Peyton in the tent.
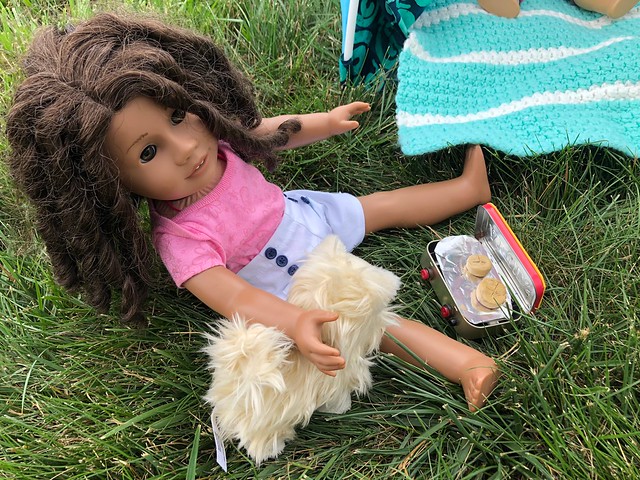
We also made a camp stove/grill from this tutorial video on American Girl Ideas YouTube channel. We used buttons for the knobs, but the striker is a small bead. We used sharpie to color the craft sticks and toothpicks black. We have a few more things to make, but the girls are already enjoying their new camping gear and accessories!
No comments:
Post a Comment