Wednesday, June 13, 2018
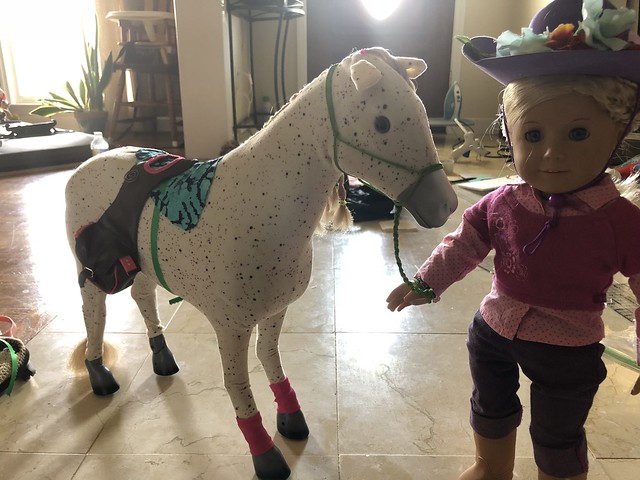
More horse crafts

Sunday, June 10, 2018
More craftiness
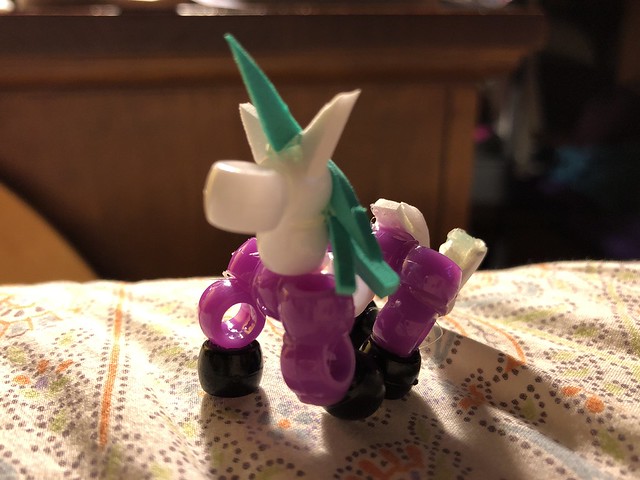
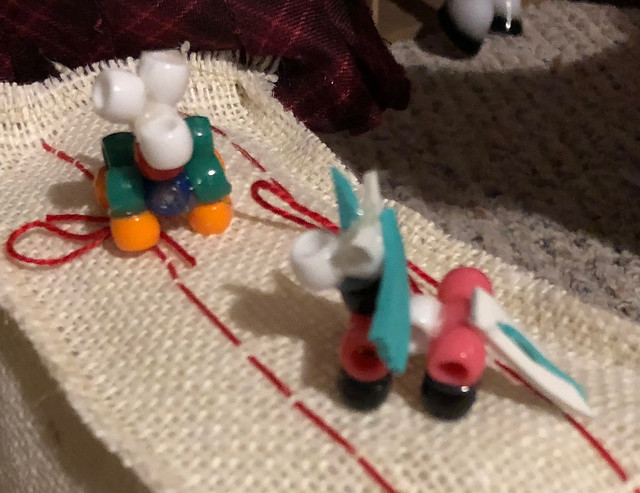
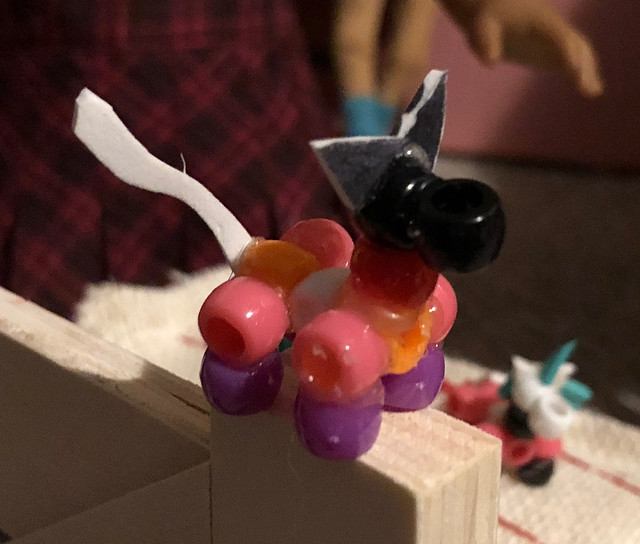
Yesterday I decided to try to make Zoomer Zupp's for my dolls. I used hot glue, craft foam and pony beads. I made 4 and plan to make more. I'm happy with how they turned out.
Last night mom and I made two outfits for a friend's birthday today. I didn't get a photo, I will have to see if my friend's mom can take some for us. The patterns were from Erin Hentzel's book, Sew in Style. We made the party dress, a top and some shorts. We also gave her some coordinating My Life As accessories. She seemed to like them, a lot.
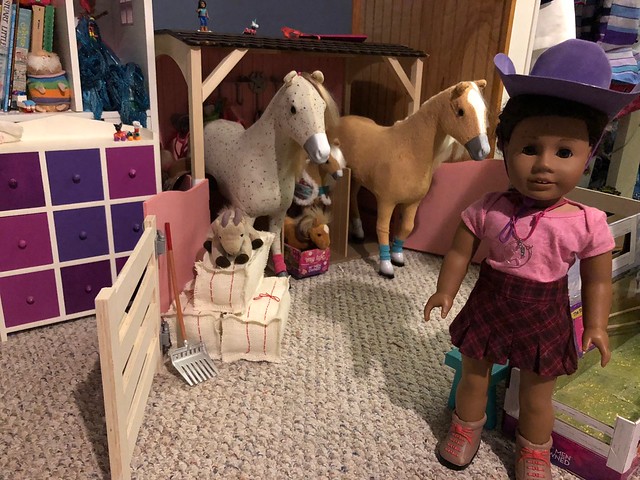 Later today after we had gotten back home we had some time to make something for our stables. Mom found a tutorial on Anna White's website. We had picked up the burlap when we bought the fat quarters for the above outfits. Mom sewed the burlap, it is very messy and linty when you handle it. Anna's recommendation to zigzag them was spot on. It helped the seam to not pull through.
Later today after we had gotten back home we had some time to make something for our stables. Mom found a tutorial on Anna White's website. We had picked up the burlap when we bought the fat quarters for the above outfits. Mom sewed the burlap, it is very messy and linty when you handle it. Anna's recommendation to zigzag them was spot on. It helped the seam to not pull through.
I stuffed them, trimmed off the loose threads, then stitched the red ties onto them. It was fun to work together to make them, and we are very happy with how they turned out. They are just the right size to look real in the barn.
If you look on the left you can see a set of jewelry drawers that we found at the local thrift store yesterday. It's perfect to help to organize the tack that doesn't fit onto the back of the stable. It's like a doll sized tack room.
I then remembered that I had a ty goat, so I pulled him out of mt added him to our stables. She keeps Blaze, our miniature horse company. They are best of buds and spend most of their time together.
I then remembered that I had a ty goat, so I pulled him out of mt added him to our stables. She keeps Blaze, our miniature horse company. They are best of buds and spend most of their time together.
Wednesday, June 6, 2018
Horse Ride
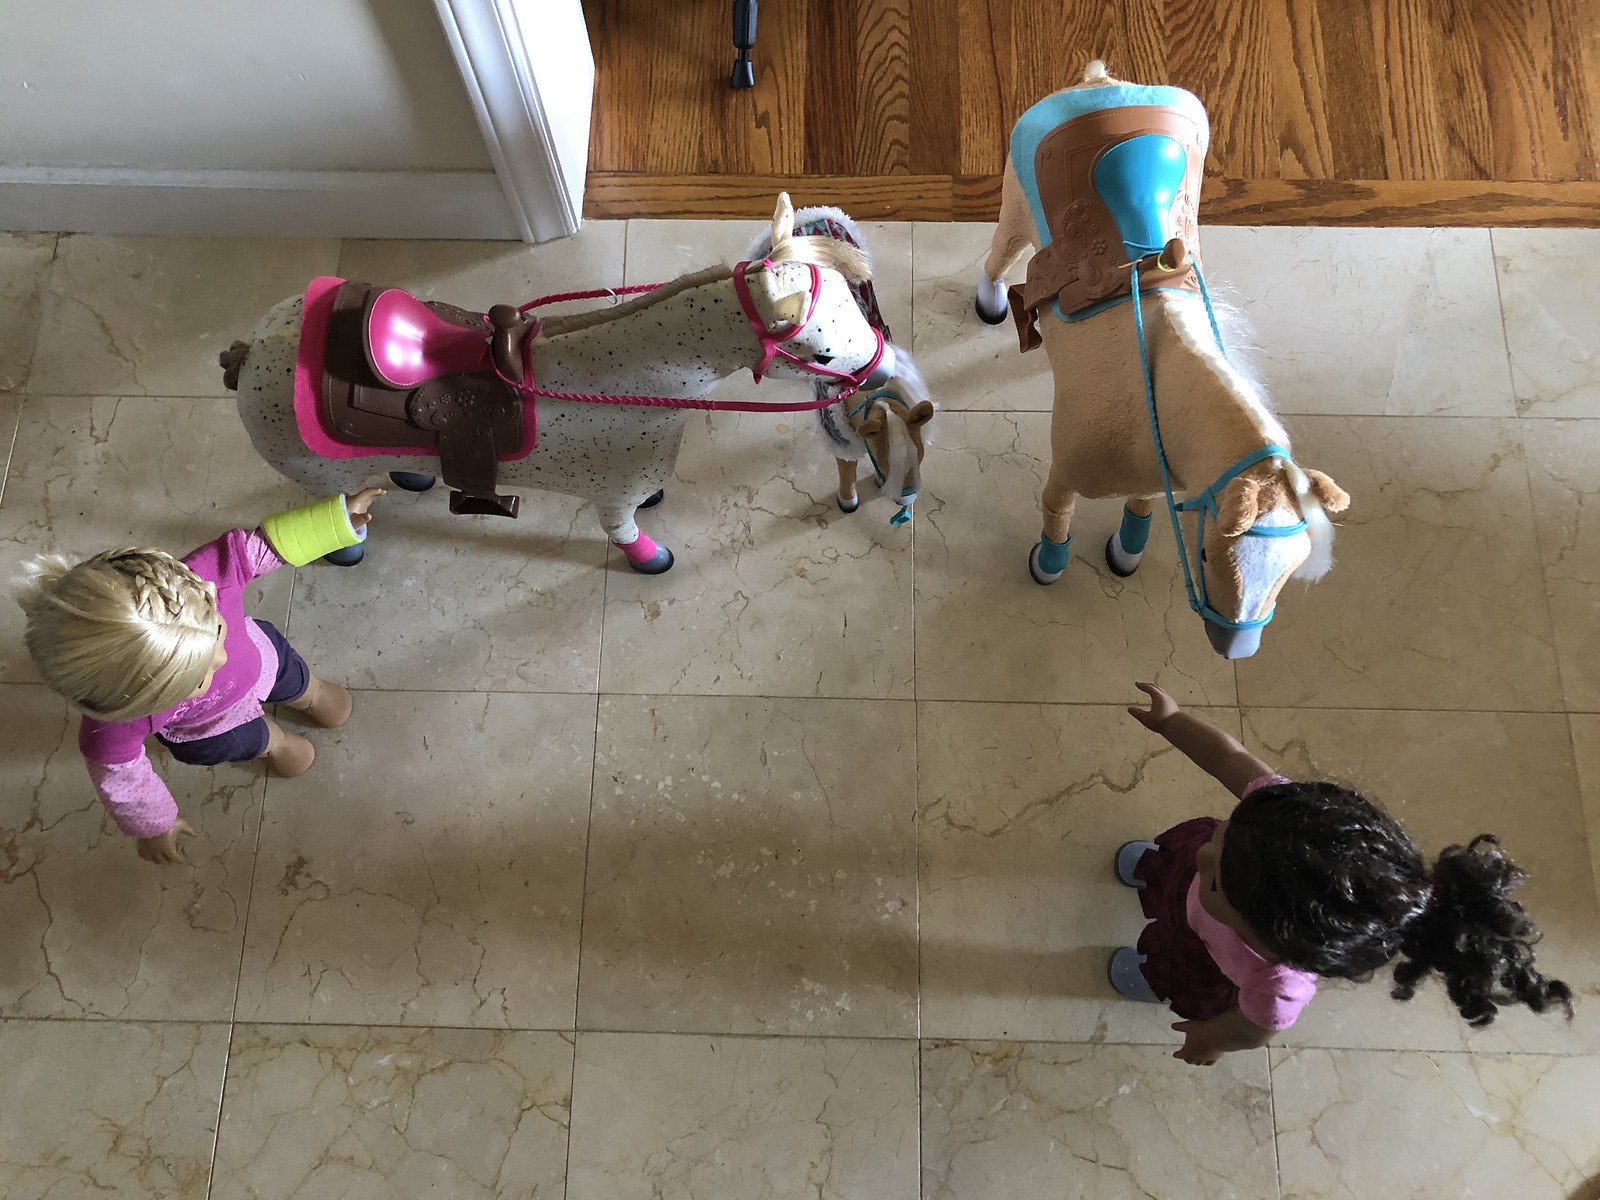 Peyton and Tia meet up with each other and their horses to ride. Peyton's Appaloosa is named Big Mac, and Tia's Palomino is Vanilla, her foal is Cream.
They had a rather long ride planned, so they talked for a while about exactly where they were going to go. Tia realized that she wasn't dressed appropriately and that she was going to pay for it later with thigh burn. They had a light lunch of sandwiches and gave the horses a few apples and some snacks. The foal is still nursing so she didn't need many snacks. Vanilla is a good mama!
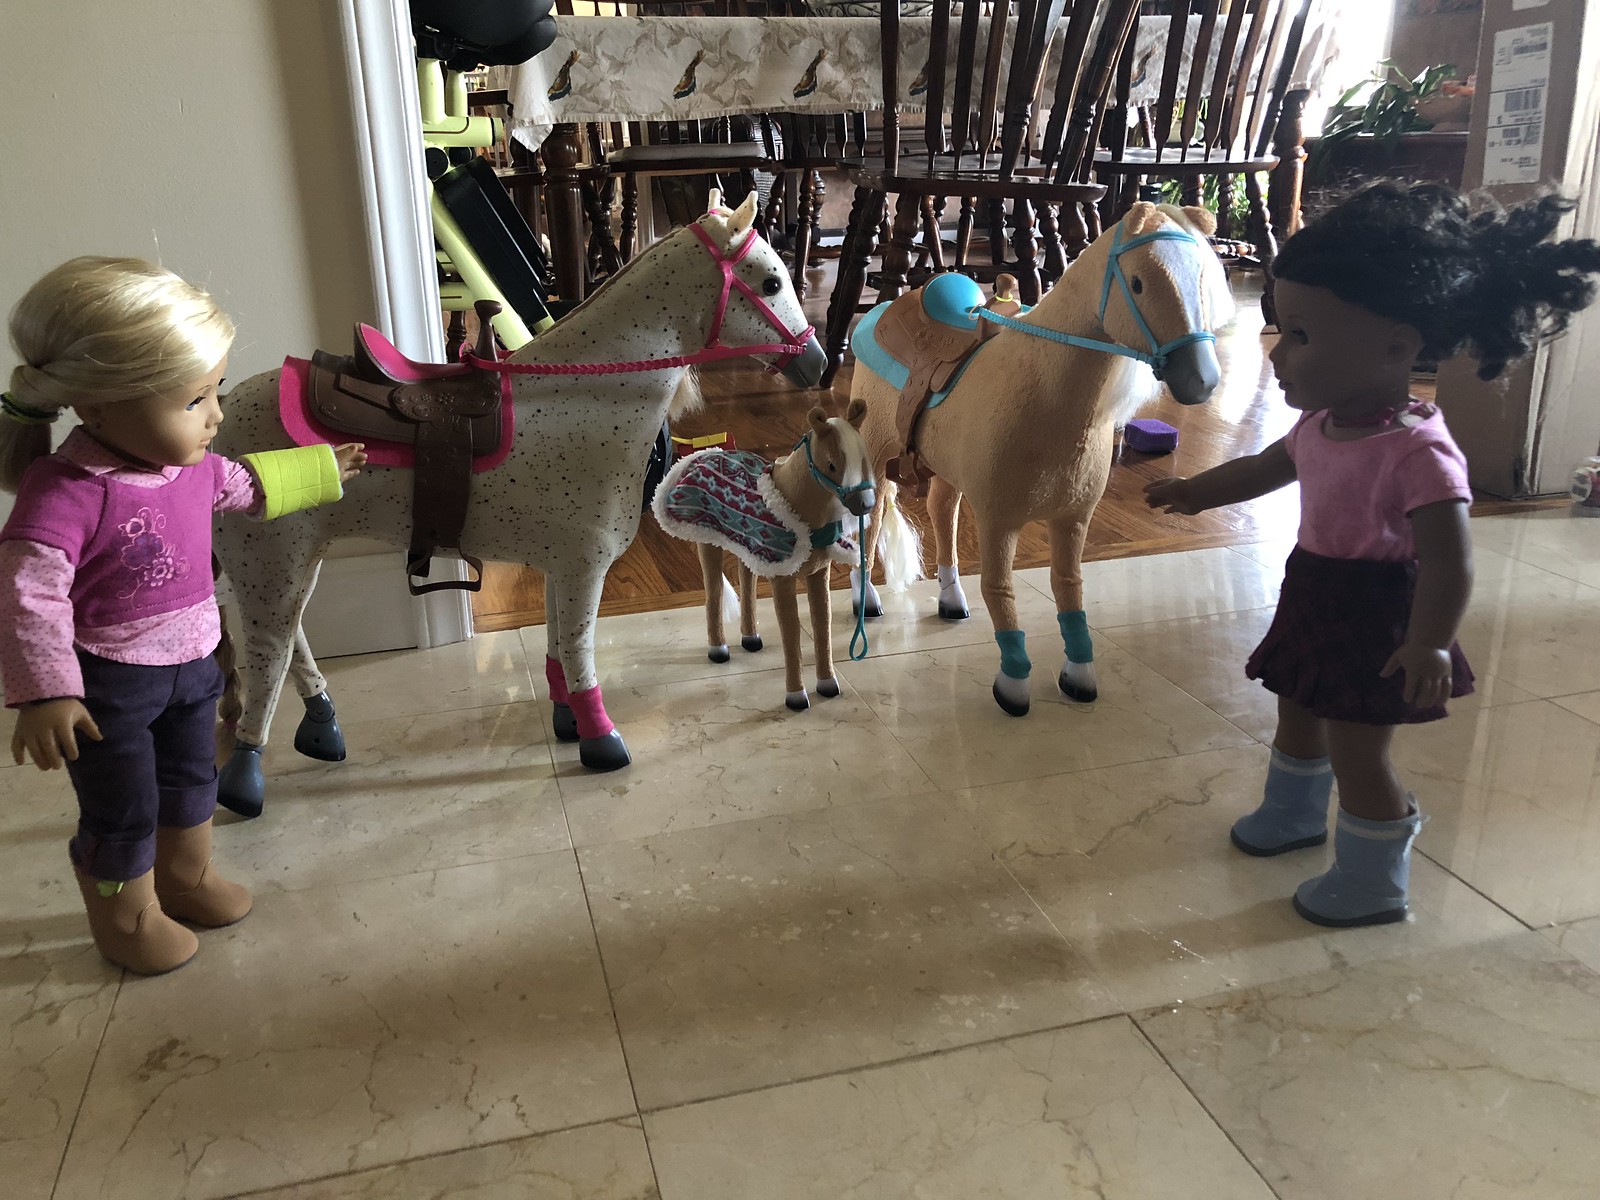
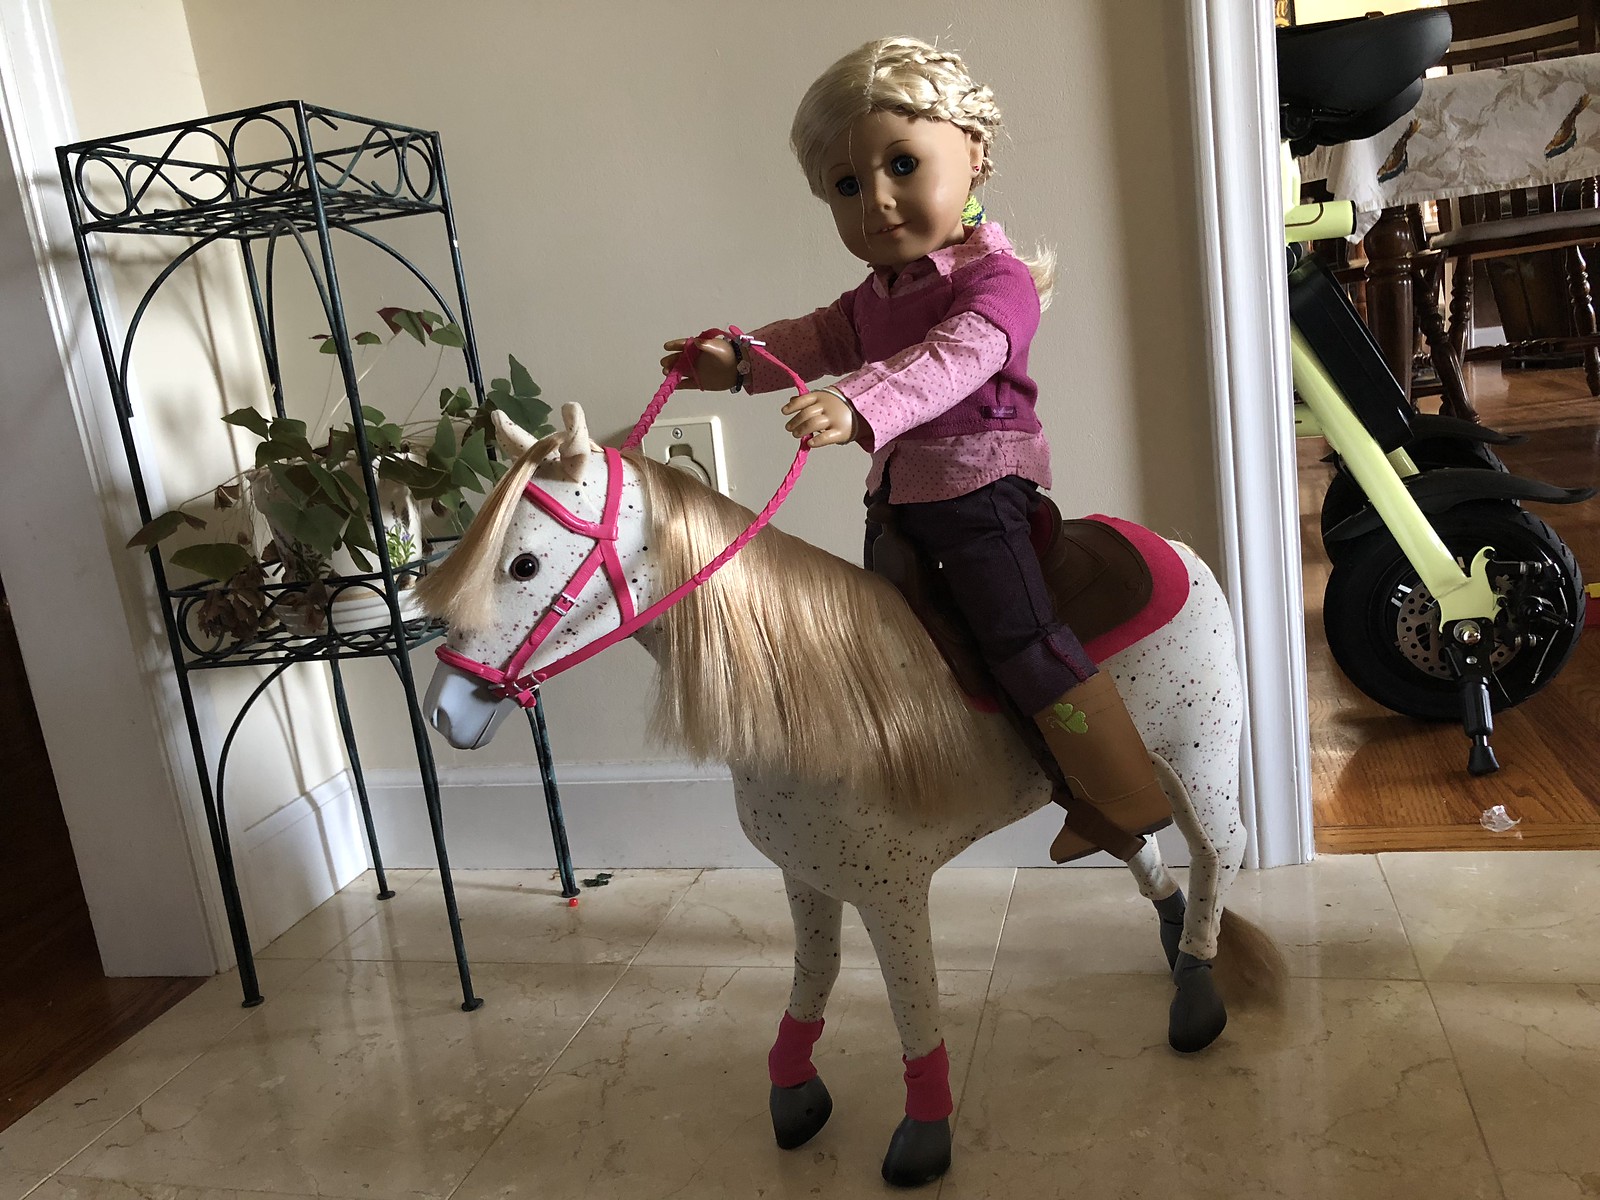
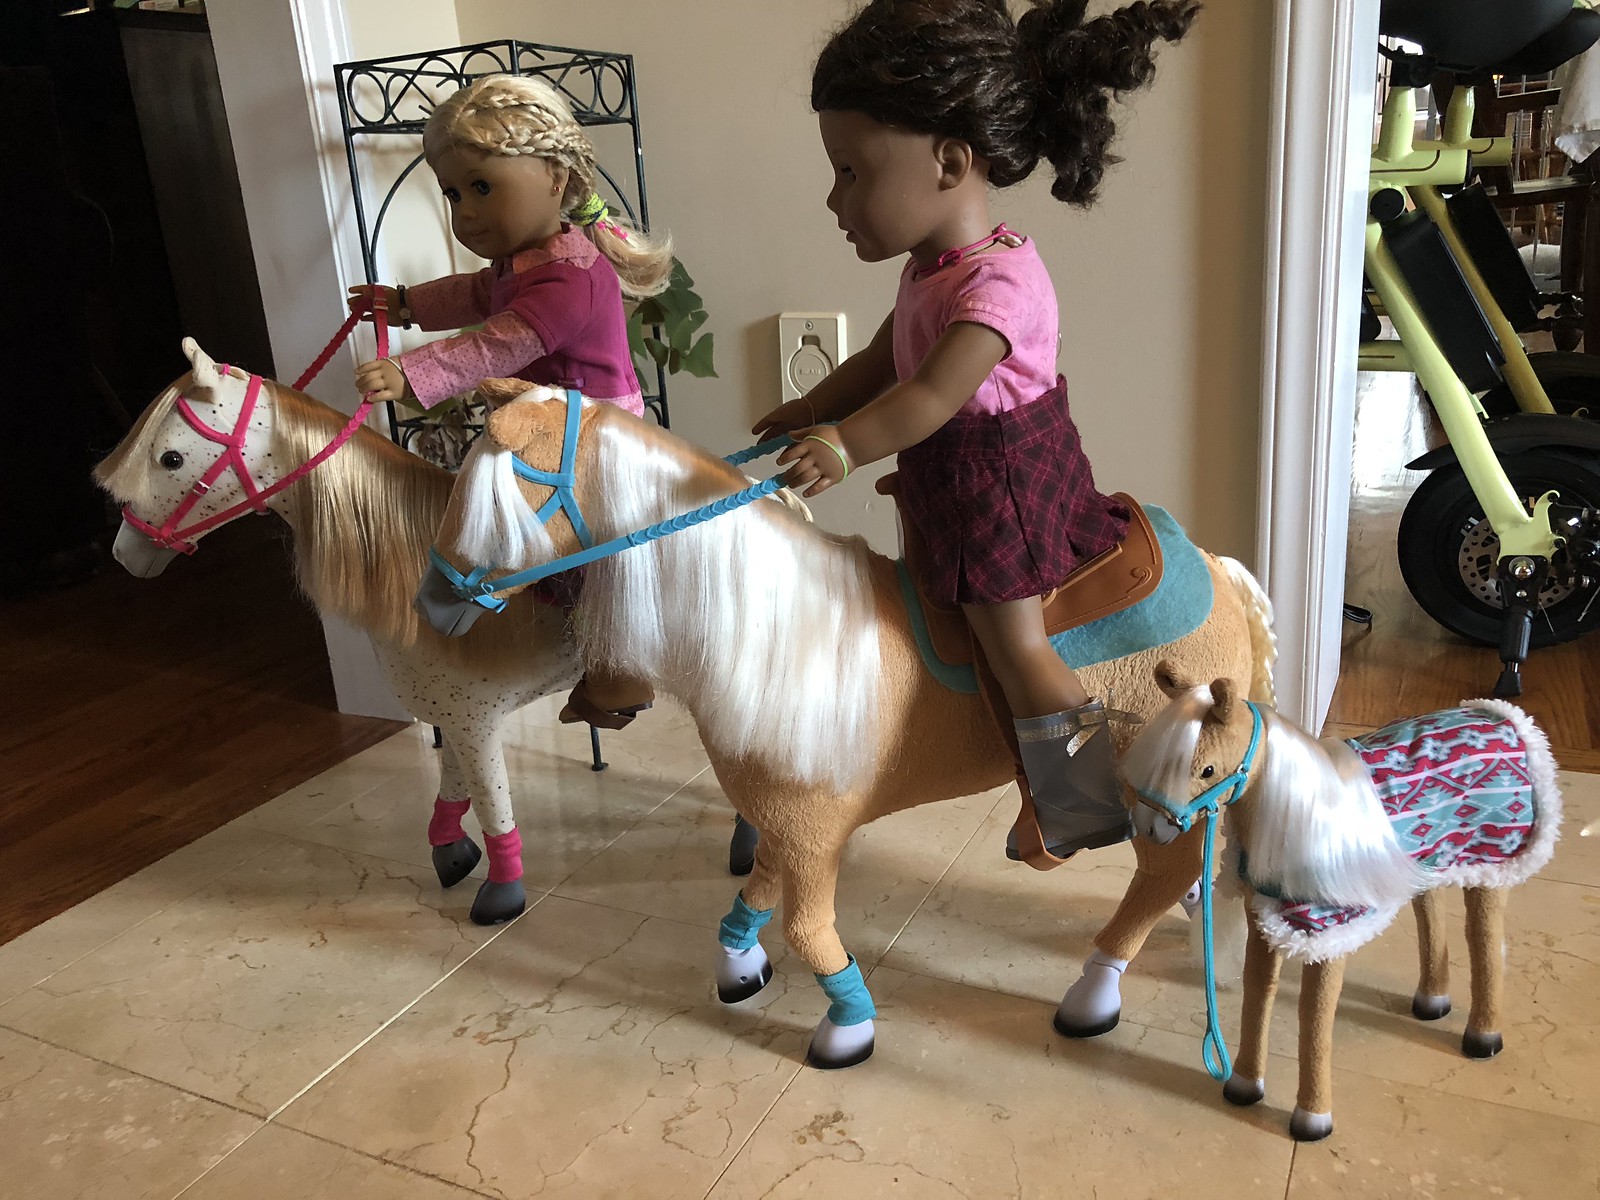
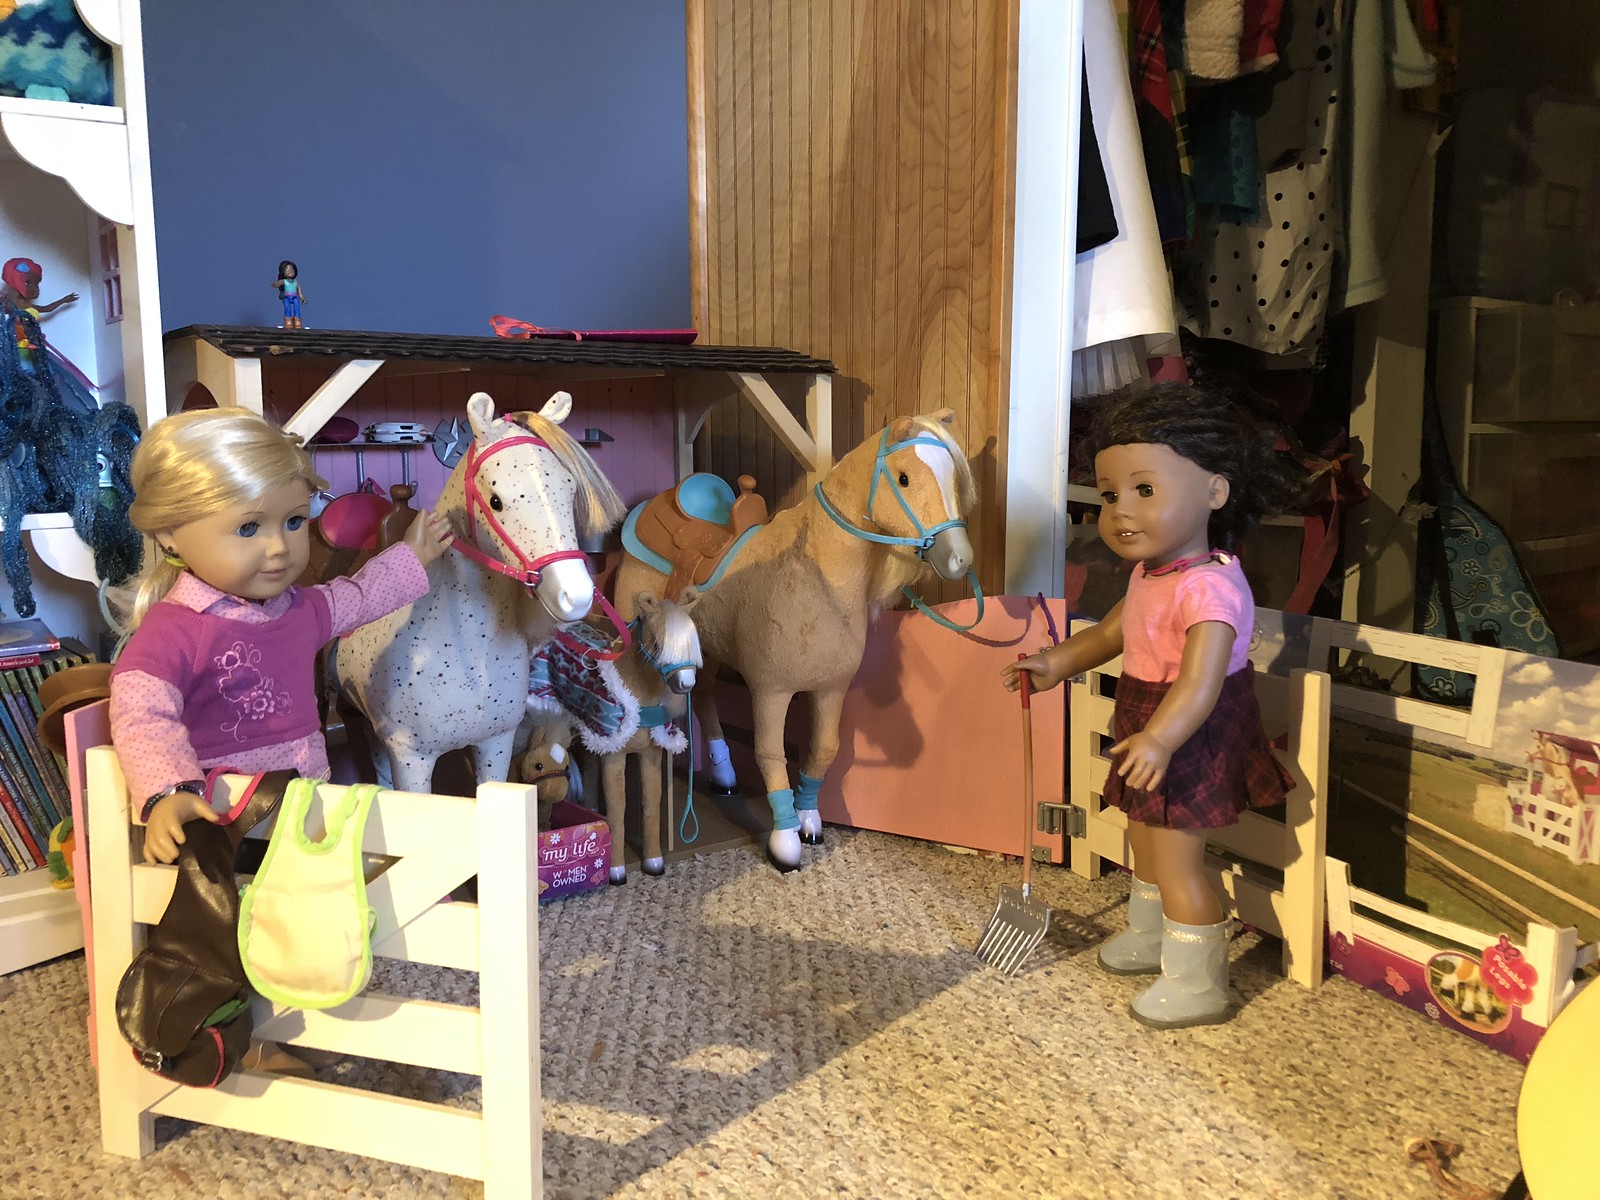
Finally the girls arrived back at the horse barn. They had such a great time on their ride, and can't wait until the next time.
Blaze the miniature horse didn't go on the ride this time, but she was waiting when the girls got back.
My mom and I love how the American Girl Dolls, Our Generation Horse Barn with accessories, and My Life As horses and accessories all work together so nicely. We have even made some additional accessories.
I made a training saddle, for Cream as well as some hay, and you can see the barley sticking out of the leather style saddle bag. Mom shredded tan and yellow construction paper to make straw. Mom will be making some hay bales soon as well.
Monday, May 28, 2018
Meet the gang
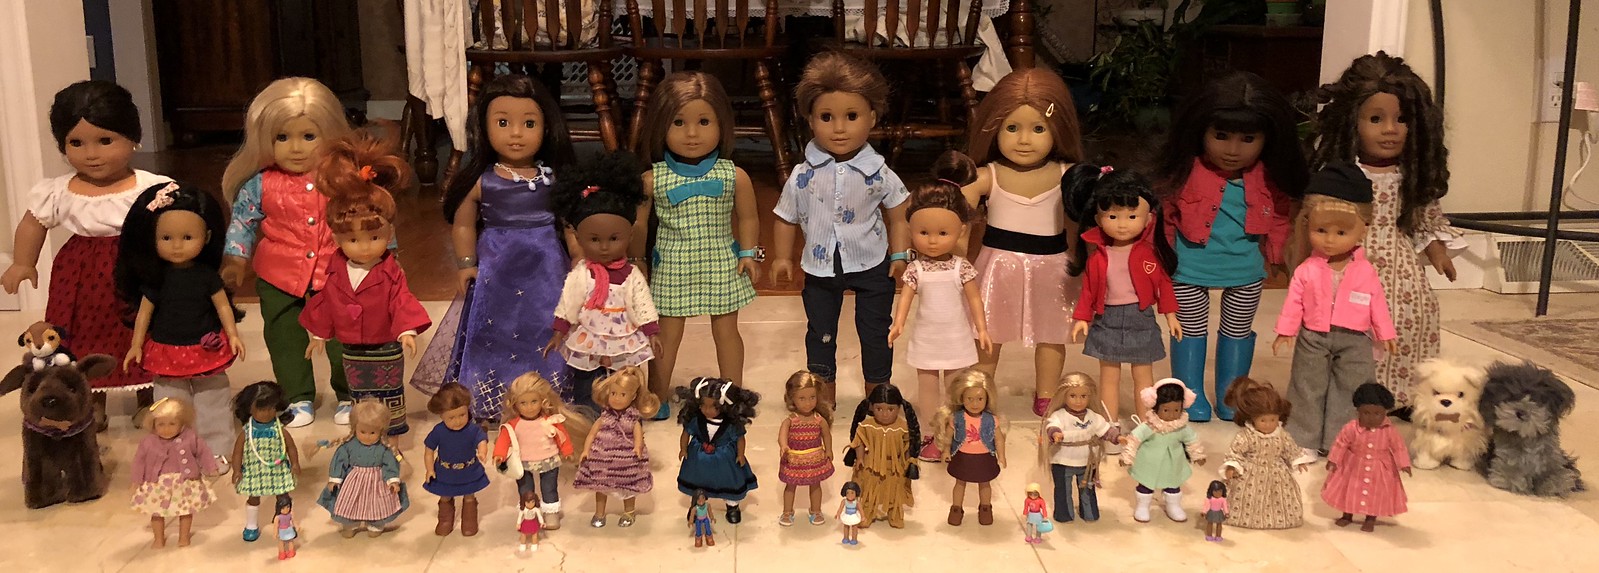
My mom and I decided to get out all of the girls (and guy) that I had at the time and have a family photo. We also included my Corolle Les Cheries, and some of the pets that aren't AG in this photo as well as my mom's mini dolls.
In the back 18": Josephina, Peyton (JLY #22), Nanea, Kanani, Jacob (originally Marisol), Felicity, Melody and Tia (JYL # 26)
In the next row:
Pupito on Cocoa, Corolle Les Cheries; Cathy, Clara, Cecile, Chloe, Capuccine, Cammile, we were never able to locate a Charles, and Candice was never affordable, and on the end DIamond Tiara and Mele
In the mini's row:
Kit, Melody, Kirsten, Saige, Caroline, MaryEllen, Cecile, Lea, Kaya, Tenny, Julie, Josephina, Felicity, Addy
and in the front there are 6 Mega Construx AG figures
I love how AG thought out the scale, the mini dolls are the right size to be dolls for the 18", the Mega Construx are the right size to be dolls for the minis.
But one thing that I didn't see until recently is that the Les Cheries are perfect for little sisters.
Mom got me Corolle first. She said that she wanted to know that I could take care of the hair and doll before she invested in AG. I have had Chloe since my 4th birthday, and the other friends came within a few months. Capuccine, Cecile and Cammile are officially my mom's. An online friend sent them to her as a gift when she started looking for my dolls. She has allowed me to play with them however. I still play with them, and they have a place in the dollhouse. Speaking of my mom's dolls, Josephine, is also hers, as are the following mini dolls:
Mom got me Corolle first. She said that she wanted to know that I could take care of the hair and doll before she invested in AG. I have had Chloe since my 4th birthday, and the other friends came within a few months. Capuccine, Cecile and Cammile are officially my mom's. An online friend sent them to her as a gift when she started looking for my dolls. She has allowed me to play with them however. I still play with them, and they have a place in the dollhouse. Speaking of my mom's dolls, Josephine, is also hers, as are the following mini dolls:
Kit, Caroline, Cecile, Kaya, Julie, Josephina
Acquired after the photo:
1 Mega Construx
Mini Nanea, Mini Addy (mom's) with glass eyes, Mini Molly (mom's) with glass eyes.
I love the different face molds AG has for the dolls, they make a huge difference in how they look.
Let's not get too hot and bothered!
After making the other doll camping items, one of the things that we felt we needed was a cooler. We couldn't find anything suitable in our household items to use, until we found this tutorial on dolldiaries.com. This camper is made from a few simple materials, a recycled tea box, of which we have an abundance, craft foam in two thicknesses and two colors. We chose teal and white, a hot glue gun and scissors. Additionally we used a grid mat, and lined rulers, but they aren't essential.
Thank you Anna for sharing this tutorial. It was very easy to follow, the only hard part was not putting too much glue. We decided to add a label to easily tell the front from the back as well.
Melody is so excited about the cooler because now her cold camping food and drinks will stay nice and cold!
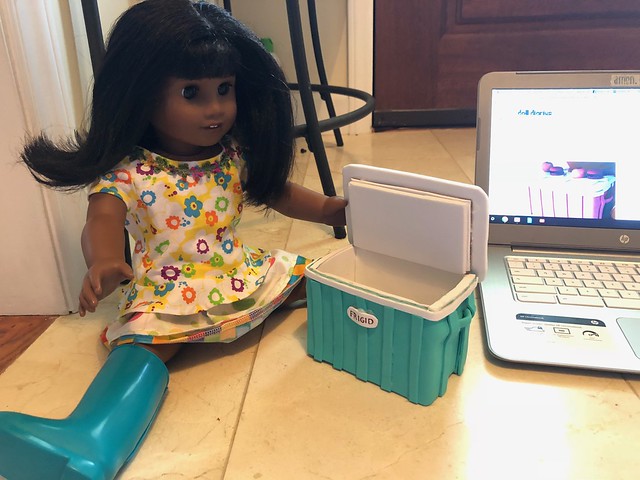 She is ready to go out with the other girls and spend a few nights when they go camping again, she is modeling a peplum top made from Erin Hentzel's book Doll Days and a double layer ruffle skirt my mom designed and made with her plastic rain boots.
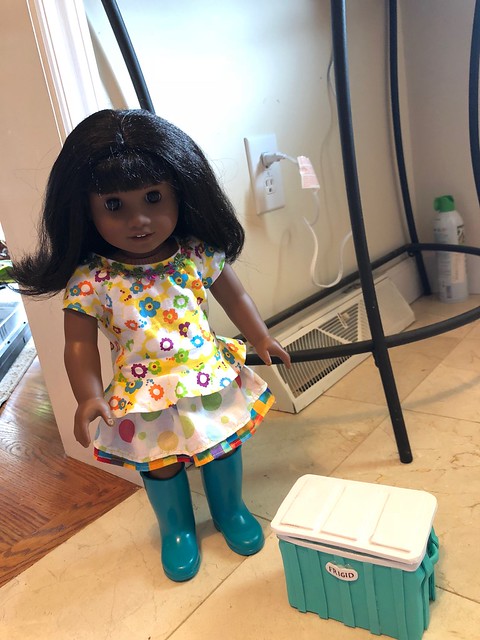
Thank you Anna for sharing this tutorial. It was very easy to follow, the only hard part was not putting too much glue. We decided to add a label to easily tell the front from the back as well.
Melody is so excited about the cooler because now her cold camping food and drinks will stay nice and cold!
Wednesday, May 23, 2018
Spring has sprung! Let's go camping!
Last night mom and I sewed a doll tent from a tutorial that we found on www.timandmeg.net. Even though it took us what felt like a long time, (mom says a little over 3 hours) it wasn't as hard as we thought it would be. The longest part was waiting while we pinned or clipped things together, and waiting while my mom figured out how we were going to make our tent. She found the fabric in her bins once we decided to make this style of tent and we already had the thread and ribbon on hand as well, so the only thing we had to buy was less than $4 of PEX pipe.
We made the following changes:
The base is 24" square.
We used batik cotton for the front, windows and pole sleeves, and a linen blend for the rest of the tent.
The height of our tent sides is 20".
We used 1/2" white PEX tubing because we couldn't buy 3/8" at the store we went to.
We used acetone to remove the writing and chose to not wrap them in duct tape, though it would have made them pretty, I don't like it when it gets sticky later.
We cut the pole sleeves in half because our pipe was thinner (accidentally the wrong way) and they barely fit our poles! I like them thinner though, it looks more like a real tent.
We used a 20" invisible zipper for the front, it goes all of the way from top to bottom.
We used a french curve and rotary cutter to make our pattern vs. freehand.
After everything was done mom tied craft thread between the pole supports to help the tent stay a little more open.
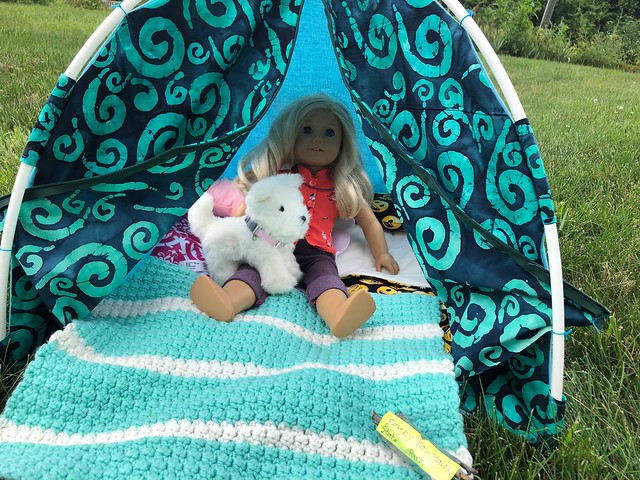
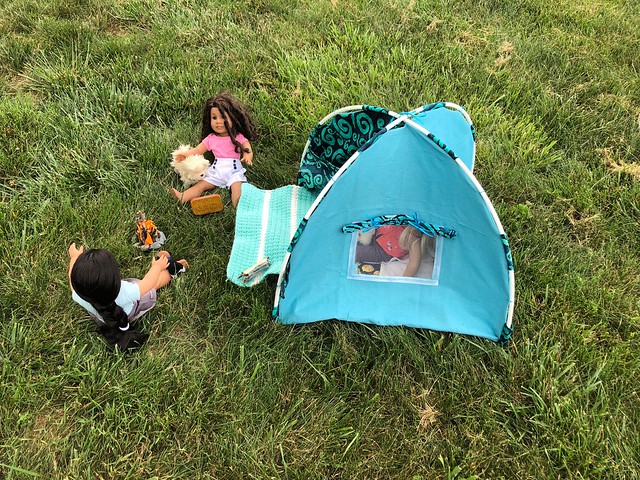
I had seen a doll tent at a garage sale a few weeks ago. I am glad I didn't spend my money on it. This one is much nicer, and I love that I made it with my mom!
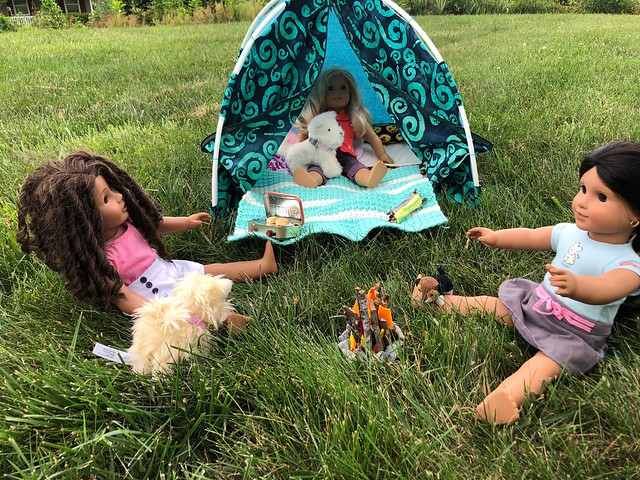
Here's Tia, on the left, Peyton in the tent and Josephina on the Right enjoying their new tent.

Mom and I followed tutorials from www.dolldiaries.com to make this camp fire, we added rocks around the fire and a few pony beads to simulate coals and embers. We layered the red felt on the inside, and as we added wood and worked towards the outside, added orange, and finally yellow like a real fire. I had some extra wood, so I labeled it and bundled it up to look like the campground safe wood bundles. You can see it pictured in the first photo with Peyton in the tent.
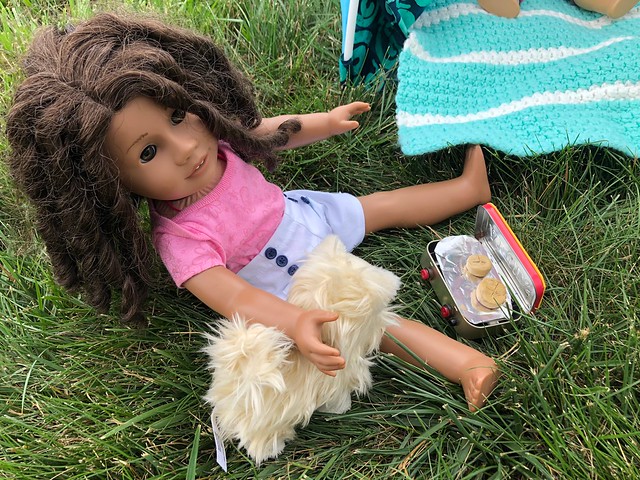
We also made a camp stove/grill from this tutorial video on American Girl Ideas YouTube channel. We used buttons for the knobs, but the striker is a small bead. We used sharpie to color the craft sticks and toothpicks black. We have a few more things to make, but the girls are already enjoying their new camping gear and accessories!
We made the following changes:
The base is 24" square.
We used batik cotton for the front, windows and pole sleeves, and a linen blend for the rest of the tent.
The height of our tent sides is 20".
We used 1/2" white PEX tubing because we couldn't buy 3/8" at the store we went to.
We used acetone to remove the writing and chose to not wrap them in duct tape, though it would have made them pretty, I don't like it when it gets sticky later.
We cut the pole sleeves in half because our pipe was thinner (accidentally the wrong way) and they barely fit our poles! I like them thinner though, it looks more like a real tent.
We used a 20" invisible zipper for the front, it goes all of the way from top to bottom.
We used a french curve and rotary cutter to make our pattern vs. freehand.
After everything was done mom tied craft thread between the pole supports to help the tent stay a little more open.
I had seen a doll tent at a garage sale a few weeks ago. I am glad I didn't spend my money on it. This one is much nicer, and I love that I made it with my mom!
Here's Tia, on the left, Peyton in the tent and Josephina on the Right enjoying their new tent.
Mom and I followed tutorials from www.dolldiaries.com to make this camp fire, we added rocks around the fire and a few pony beads to simulate coals and embers. We layered the red felt on the inside, and as we added wood and worked towards the outside, added orange, and finally yellow like a real fire. I had some extra wood, so I labeled it and bundled it up to look like the campground safe wood bundles. You can see it pictured in the first photo with Peyton in the tent.
We also made a camp stove/grill from this tutorial video on American Girl Ideas YouTube channel. We used buttons for the knobs, but the striker is a small bead. We used sharpie to color the craft sticks and toothpicks black. We have a few more things to make, but the girls are already enjoying their new camping gear and accessories!
Sunday, December 31, 2017
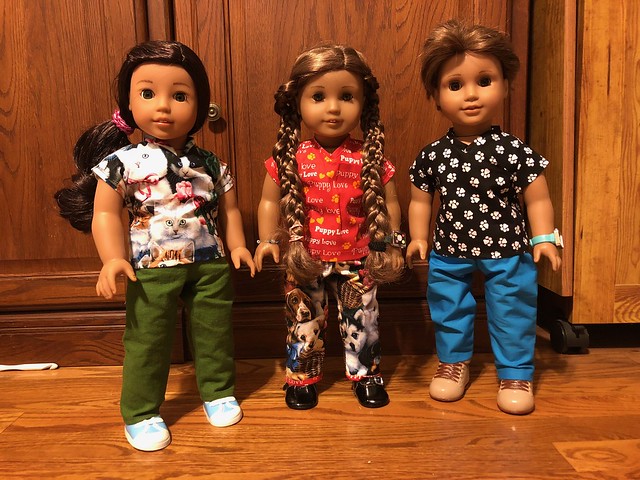
He has a pet ferret named Sketch, and a hamster named Honey, which I will introduce later. Jacob works at the vet office as the groomer. He likes to build things, watch movies, and hang out with his sisters and their friends. In his down time he sometimes plays video games, especially Minecraft.
Subscribe to:
Posts (Atom)